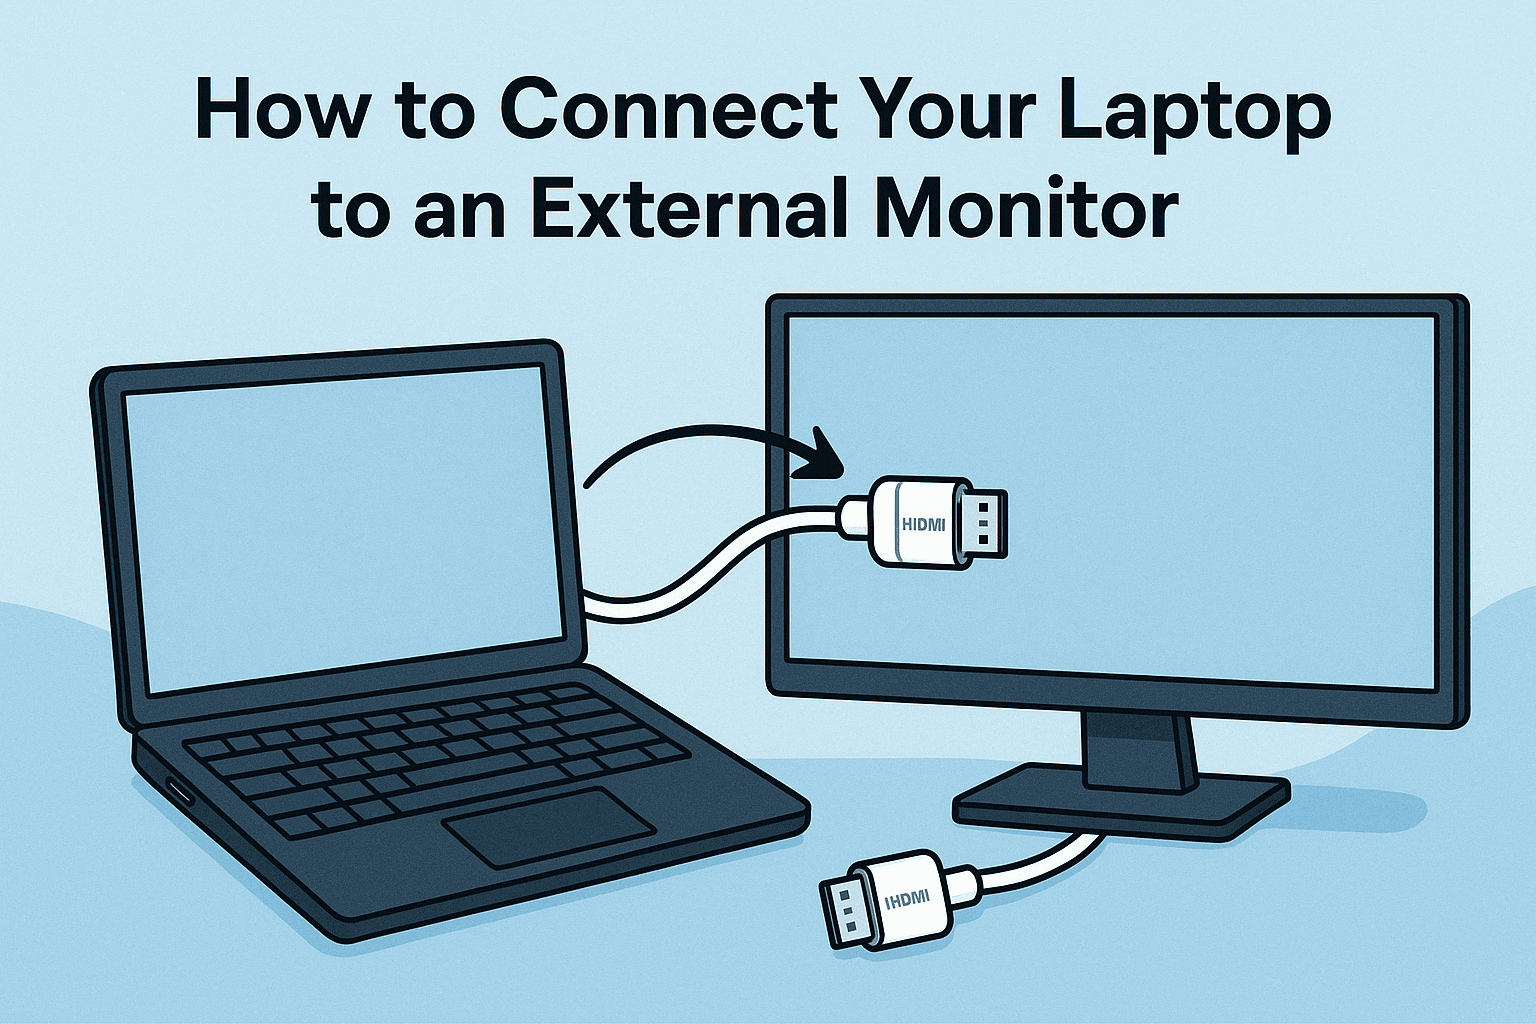
Whether you’re working from home, gaming, editing videos, or just want a bigger screen for streaming your favorite shows, connecting a laptop to an external monitor is one of the best ways to boost your productivity and improve your viewing experience. But for many users, the process isn’t always as simple as plug-and-play.
This guide will walk you through everything you need to know — from understanding different port types to choosing the right cables, adjusting display settings, optimizing screen resolution, and troubleshooting common connection issues. By the end, you’ll know exactly how to set up your laptop with an external monitor like a pro.
Why Use an External Monitor with Your Laptop?
Before we dive into the technical details, let’s talk about why you might want to connect your laptop to an external display.
Increase your screen space for multitasking and productivity
Use a larger screen for better viewing, especially for presentations, design, or spreadsheets
Create a dual monitor setup to mirror or extend your display
Switch to a desktop-like setup for better ergonomics and less eye strain
Whether you’re a remote worker, student, creative professional, or casual user, having an extra monitor can drastically improve your workflow.
Step 1: Identify the Ports on Your Laptop and Monitor
The first step in connecting your devices is identifying the types of ports available. Different laptops and monitors use different connection standards, so it’s important to match the correct ones.
Here are the most common types of ports:
🔌 HDMI (High-Definition Multimedia Interface)
Most modern laptops and monitors include HDMI ports
Carries both video and audio over a single cable
Ideal for full HD or 4K monitors
🧷 VGA (Video Graphics Array)
An older analog connection, mostly found on older monitors and laptops
Doesn’t support audio
Lower image quality compared to digital options
📺 DisplayPort
Found on high-end laptops and gaming monitors
Supports higher resolutions and refresh rates than HDMI
Excellent for multiple monitor setups
🌀 USB-C / Thunderbolt 3 or 4
Common on modern ultrabooks and MacBooks
Can transmit video, audio, power, and data
Often requires a USB-C to HDMI or USB-C to DisplayPort cable or adapter
Step 2: Choose the Right Cable or Adapter
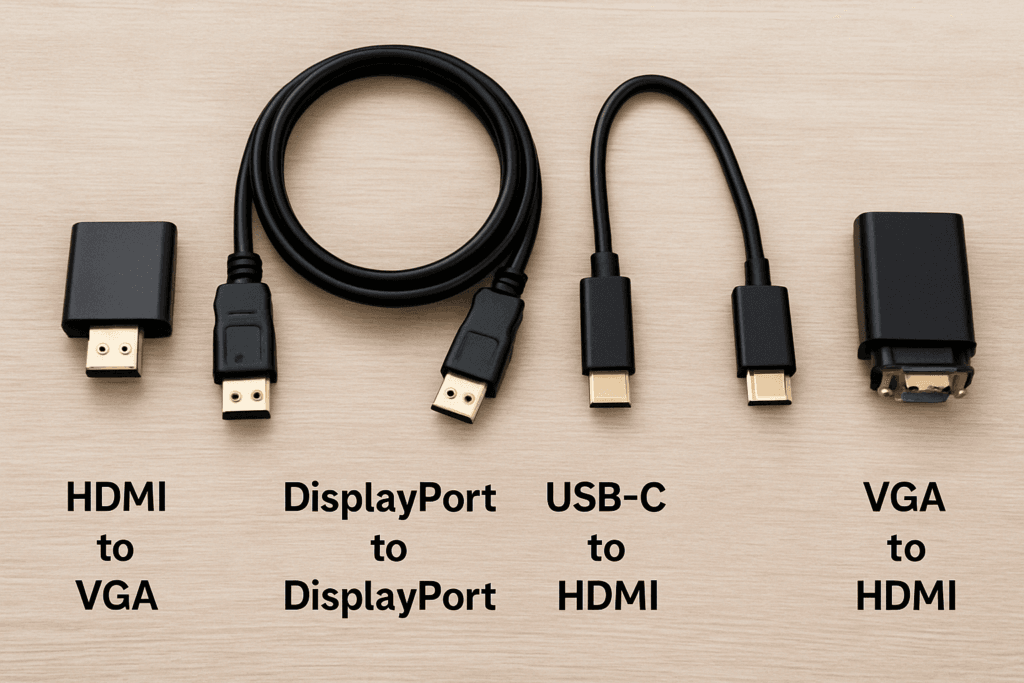
Once you’ve identified the ports, it’s time to find the right cable or adapter. Here’s what you might need:
✅ HDMI to HDMI
Most straightforward connection
Ideal if both laptop and monitor have HDMI ports
✅ USB-C to HDMI
Required if your laptop only has USB-C
Supports video, often plug-and-play with no driver needed
✅ DisplayPort to DisplayPort
Great for high-resolution displays and high refresh rates
✅ VGA to HDMI or HDMI to VGA Adapter
For connecting newer laptops to older monitors or vice versa
Often requires external power and may only support video (not audio)
✅ Thunderbolt to DisplayPort or HDMI
For high-performance needs, especially with MacBooks or professional workstations
Pro Tip: Always check for compatibility when purchasing adapters. Not all USB-C ports support video output — look for the “DisplayPort” or “Thunderbolt” symbol next to the port on your laptop.
Step 3: Connect and Configure Your External Display
Once the physical connection is made, your devices may recognize each other immediately — or they may require a bit of tweaking.
Here’s how to configure your display settings depending on your operating system.
🪟 Windows Users
Right-click on your desktop
Click Display settings
Scroll to Multiple Displays section
Choose one of the following:
Duplicate these displays (same content on both screens)
Extend these displays (spread desktop across both screens)
Show only on 1 or 2 (use just one of the screens)
You can also:
Adjust resolution
Change screen orientation
Set primary and secondary display
🍎 Mac Users
Go to Apple Menu > System Settings > Displays
Your Mac should auto-detect the monitor
Choose between:
Mirror Displays
Use as Separate Display
You can drag and drop the display layout to match your physical setup.
Step 4: Adjust Screen Resolution for Best Viewing
Screen resolution impacts the sharpness and clarity of your display. While your laptop and monitor may automatically sync to the best resolution, you can manually adjust it for optimal performance.
How to Adjust Resolution on Windows:
Go to Display Settings
Scroll to Display resolution
Use the drop-down to select the preferred resolution
How to Adjust Resolution on Mac:
Go to System Settings > Displays
Hold the Option key and click Scaled to see all available resolutions
Best Practice: Match the resolution to your monitor’s native resolution for the clearest image.
Step 5: Configure Scaling and Layout
After setting the resolution, adjust scaling and layout to improve readability and visual comfort — especially on high-resolution monitors where text may appear too small.
On Windows, find Scale and layout in Display Settings and increase to 125% or 150% as needed
On Mac, use the “Scaled” option and choose “Larger Text” or “More Space”
Step 6: Optimize Refresh Rate
If you’re experiencing screen flicker, lag, or sluggish motion, the refresh rate could be the culprit.
On Windows, go to Advanced display settings and choose the correct refresh rate
On Mac, go to Displays > Advanced, then choose a refresh rate (e.g., 60Hz, 120Hz)
Higher refresh rates (like 120Hz or 144Hz) are especially beneficial for gaming and video editing.
Step 7: Troubleshoot Common Issues
Even with the correct setup, things can sometimes go wrong. Here are solutions to common problems:
🧰 Monitor Not Detected
Check that all cables are plugged in tightly
Restart both the monitor and laptop
On Windows, click Detect under Display Settings
On Mac, press the Option key while in Displays to reveal the Detect Displays button
🧰 Wrong Input Source
Manually switch your monitor’s input source (e.g., from HDMI 1 to HDMI 2)
🧰 Adapter Not Working
Verify that your adapter supports your devices
Try a different port or adapter brand
🧰 Display Flickering or Poor Quality
Lower the refresh rate
Try a different cable
Move away from electrical interference or Wi-Fi routers
Final Thoughts: Turn Your Laptop Into a Full Workstation
Connecting your laptop to an external monitor isn’t just about plugging in a cable — it’s about maximizing your workspace, boosting productivity, and customizing your setup to fit your workflow.
By understanding your device ports, choosing the right adapters, optimizing display settings, and troubleshooting potential hiccups, you can unlock a better, more efficient computing experience.
Call to Action
If this guide helped you, share it with someone who might be struggling with their dual monitor setup. And don’t forget to check out our recommended gear for cables, adapters, and monitors that will make your setup shine.
Stay tuned for more how-to tech guides and productivity tips!

I am a USMC Veteran who worked with a Lot of computers and Technology while I was in. I became hooked and learned a lot in my 20 years.
At my store, I am passionate about bringing you the latest tech products that enhance your everyday life. Our mission is to provide quality, innovation, and value, making sure you find the perfect gadgets to fit your needs. Thanks for Your Support.. Larry Mac